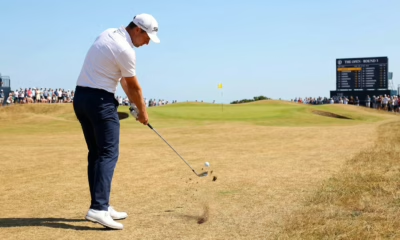
Connect with us

Drills

How to Practice Golf When You Don’t Have Time

Busy golfer? Learn how to practice golf effectively in just 15 minutes. Proven drills, at-home practice tips, and range prioritization strategies for time-starved players.

Avatar photo

Published

on

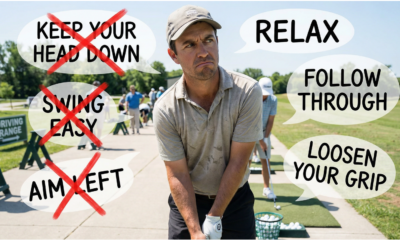
I hear it all the time from my students: “I’d love to practice more, but I just don’t have the time.” Between work, family obligations, and everything else life throws at you, finding two or three hours to spend at the range can feel impossible. And I get it. Most of my students are busy professionals, parents, or both. They’re juggling meetings, school pickups, and a hundred other responsibilities. The idea of carving out significant practice time feels like a luxury they can’t afford.

Here’s the good news: you don’t need hours of practice to improve your golf game. In fact, some of the most effective practice sessions I’ve seen have been short, focused, and intentional. The key isn’t how much time you spend practicing—it’s how you use the time you have. In this article, I’m going to show you how to practice golf effectively even when you’re short on time. We’ll cover efficient practice frameworks, at-home drills you can do in minutes, and how to prioritize your limited range time for maximum impact.

The Myth of Long Practice Sessions

Let’s start by dispelling a common myth: the belief that you need long practice sessions to improve. Many golfers think that unless they can spend two hours at the range, there’s no point in practicing at all. This all-or-nothing mindset is one of the biggest obstacles to improvement for busy golfers.

The truth is that short, focused practice sessions are often more effective than long, unfocused ones. When you only have fifteen or twenty minutes, you’re forced to be intentional about what you work on. You can’t afford to waste time mindlessly hitting balls. You have to have a plan, execute it, and move on. This kind of deliberate practice—where you’re working on specific skills with clear goals—is exactly what drives improvement.

Research in skill acquisition supports this. Studies have shown that shorter, more frequent practice sessions often lead to better retention and skill development than longer, less frequent ones. Your brain learns more effectively when you practice regularly, even if each session is brief. Think of it like learning a language: fifteen minutes of focused practice every day is more effective than cramming for three hours once a week.

So if you’re a busy golfer who can only squeeze in short practice sessions, you’re actually in a better position than you might think. The key is to make those sessions count. Let’s talk about how to do that.

A busy professional golfer in business casual attire practicing putting in their office during a break, showing that practice can fit into any schedule.

The 15-Minute Practice Framework

When you only have fifteen minutes to practice, structure is everything. You need a clear plan that focuses on the skills that will have the biggest impact on your scores. Here’s a framework I use with my time-starved students, and it works remarkably well.

3 Golf Practice Drills for Busy Players

Minutes 1-5: Putting (Speed Control)

Start with putting, specifically speed control. This is the most important skill in golf, and it’s also one of the easiest to practice in a short time frame. Set up two balls at different distances from the hole—one at ten feet, one at twenty feet. Your goal is simple: get both balls to finish within three feet of the hole. Don’t worry about making putts; focus entirely on controlling your speed.

Get the prefect practice putting mat

Why speed control? Because it’s the foundation of good putting. If you can consistently control your speed, you’ll make more putts and dramatically reduce three-putts. And unlike reading greens, which requires experience and feel, speed control is a mechanical skill you can develop through deliberate practice.

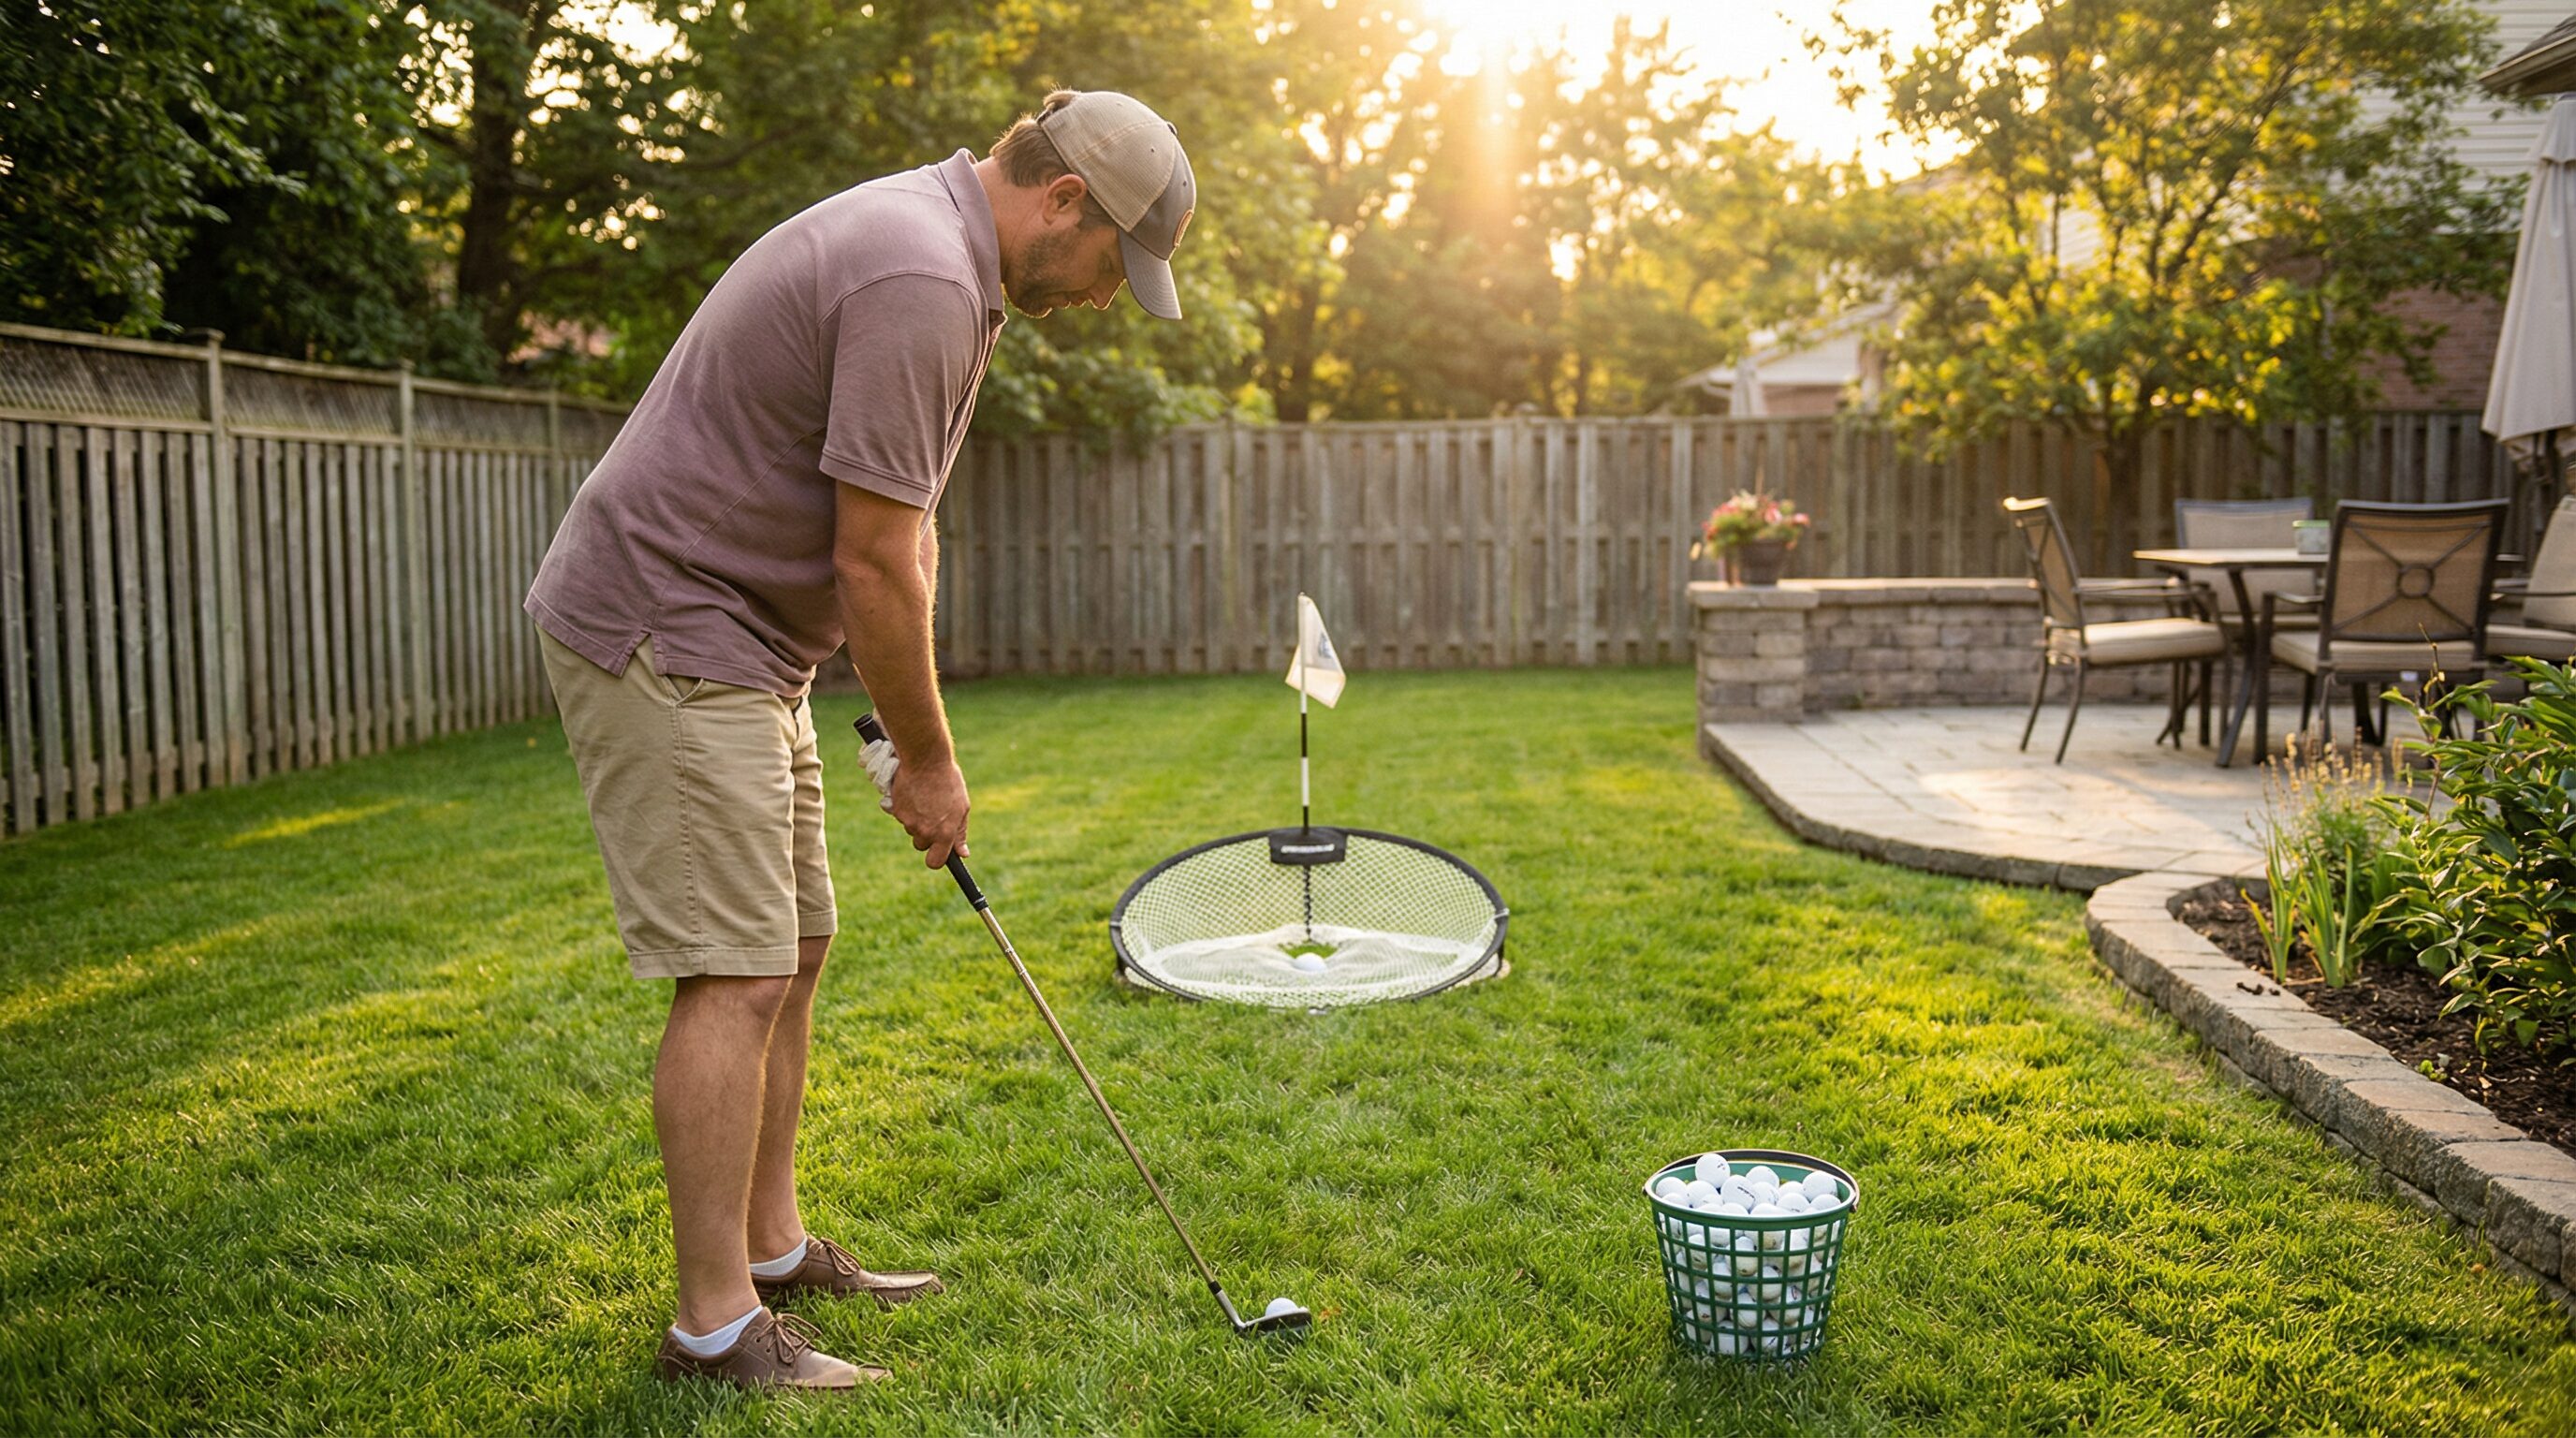
Minutes 6-10: Chipping (One Landing Spot)

Next, move to chipping. Set up three balls at different distances from the green—say, five yards, ten yards, and fifteen yards. Pick a single landing spot on the green, about three feet onto the putting surface. Your goal is to land all three balls on that spot, regardless of where you’re chipping from.

This drill teaches you to control trajectory and distance by adjusting your swing length and club selection. It’s a fundamental skill that will save you strokes around the green. And because you’re working with a specific target and a clear goal, you’ll see improvement quickly.

Get the Champkey chipping set

Minutes 11-15: Full Swing (One Specific Focus)

Finally, spend five minutes on your full swing, but here’s the key: work on only one specific element. Maybe it’s your takeaway, your weight shift, or your follow-through. Pick one thing, and focus on it exclusively for those five minutes. Hit five to seven balls, paying attention only to that one element.

This kind of focused practice is far more effective than hitting thirty balls with no particular goal. You’re training your body to make a specific movement pattern, and you’re doing it with intention. Over time, these small improvements add up to significant changes in your swing.

That’s it. Fifteen minutes, three skills, clear goals. If you can do this three or four times a week, you’ll see noticeable improvement in your game. The key is consistency and focus. You’re not trying to fix everything at once—you’re working on specific skills that matter most.

A golfer practicing chipping in their backyard with a target, demonstrating efficient at-home practice.

At-Home Drills You Can Do in Minutes

One of the best things about golf is that you can practice many of the most important skills at home, without ever going to a range or course. Here are some at-home drills that take just a few minutes but deliver real results.

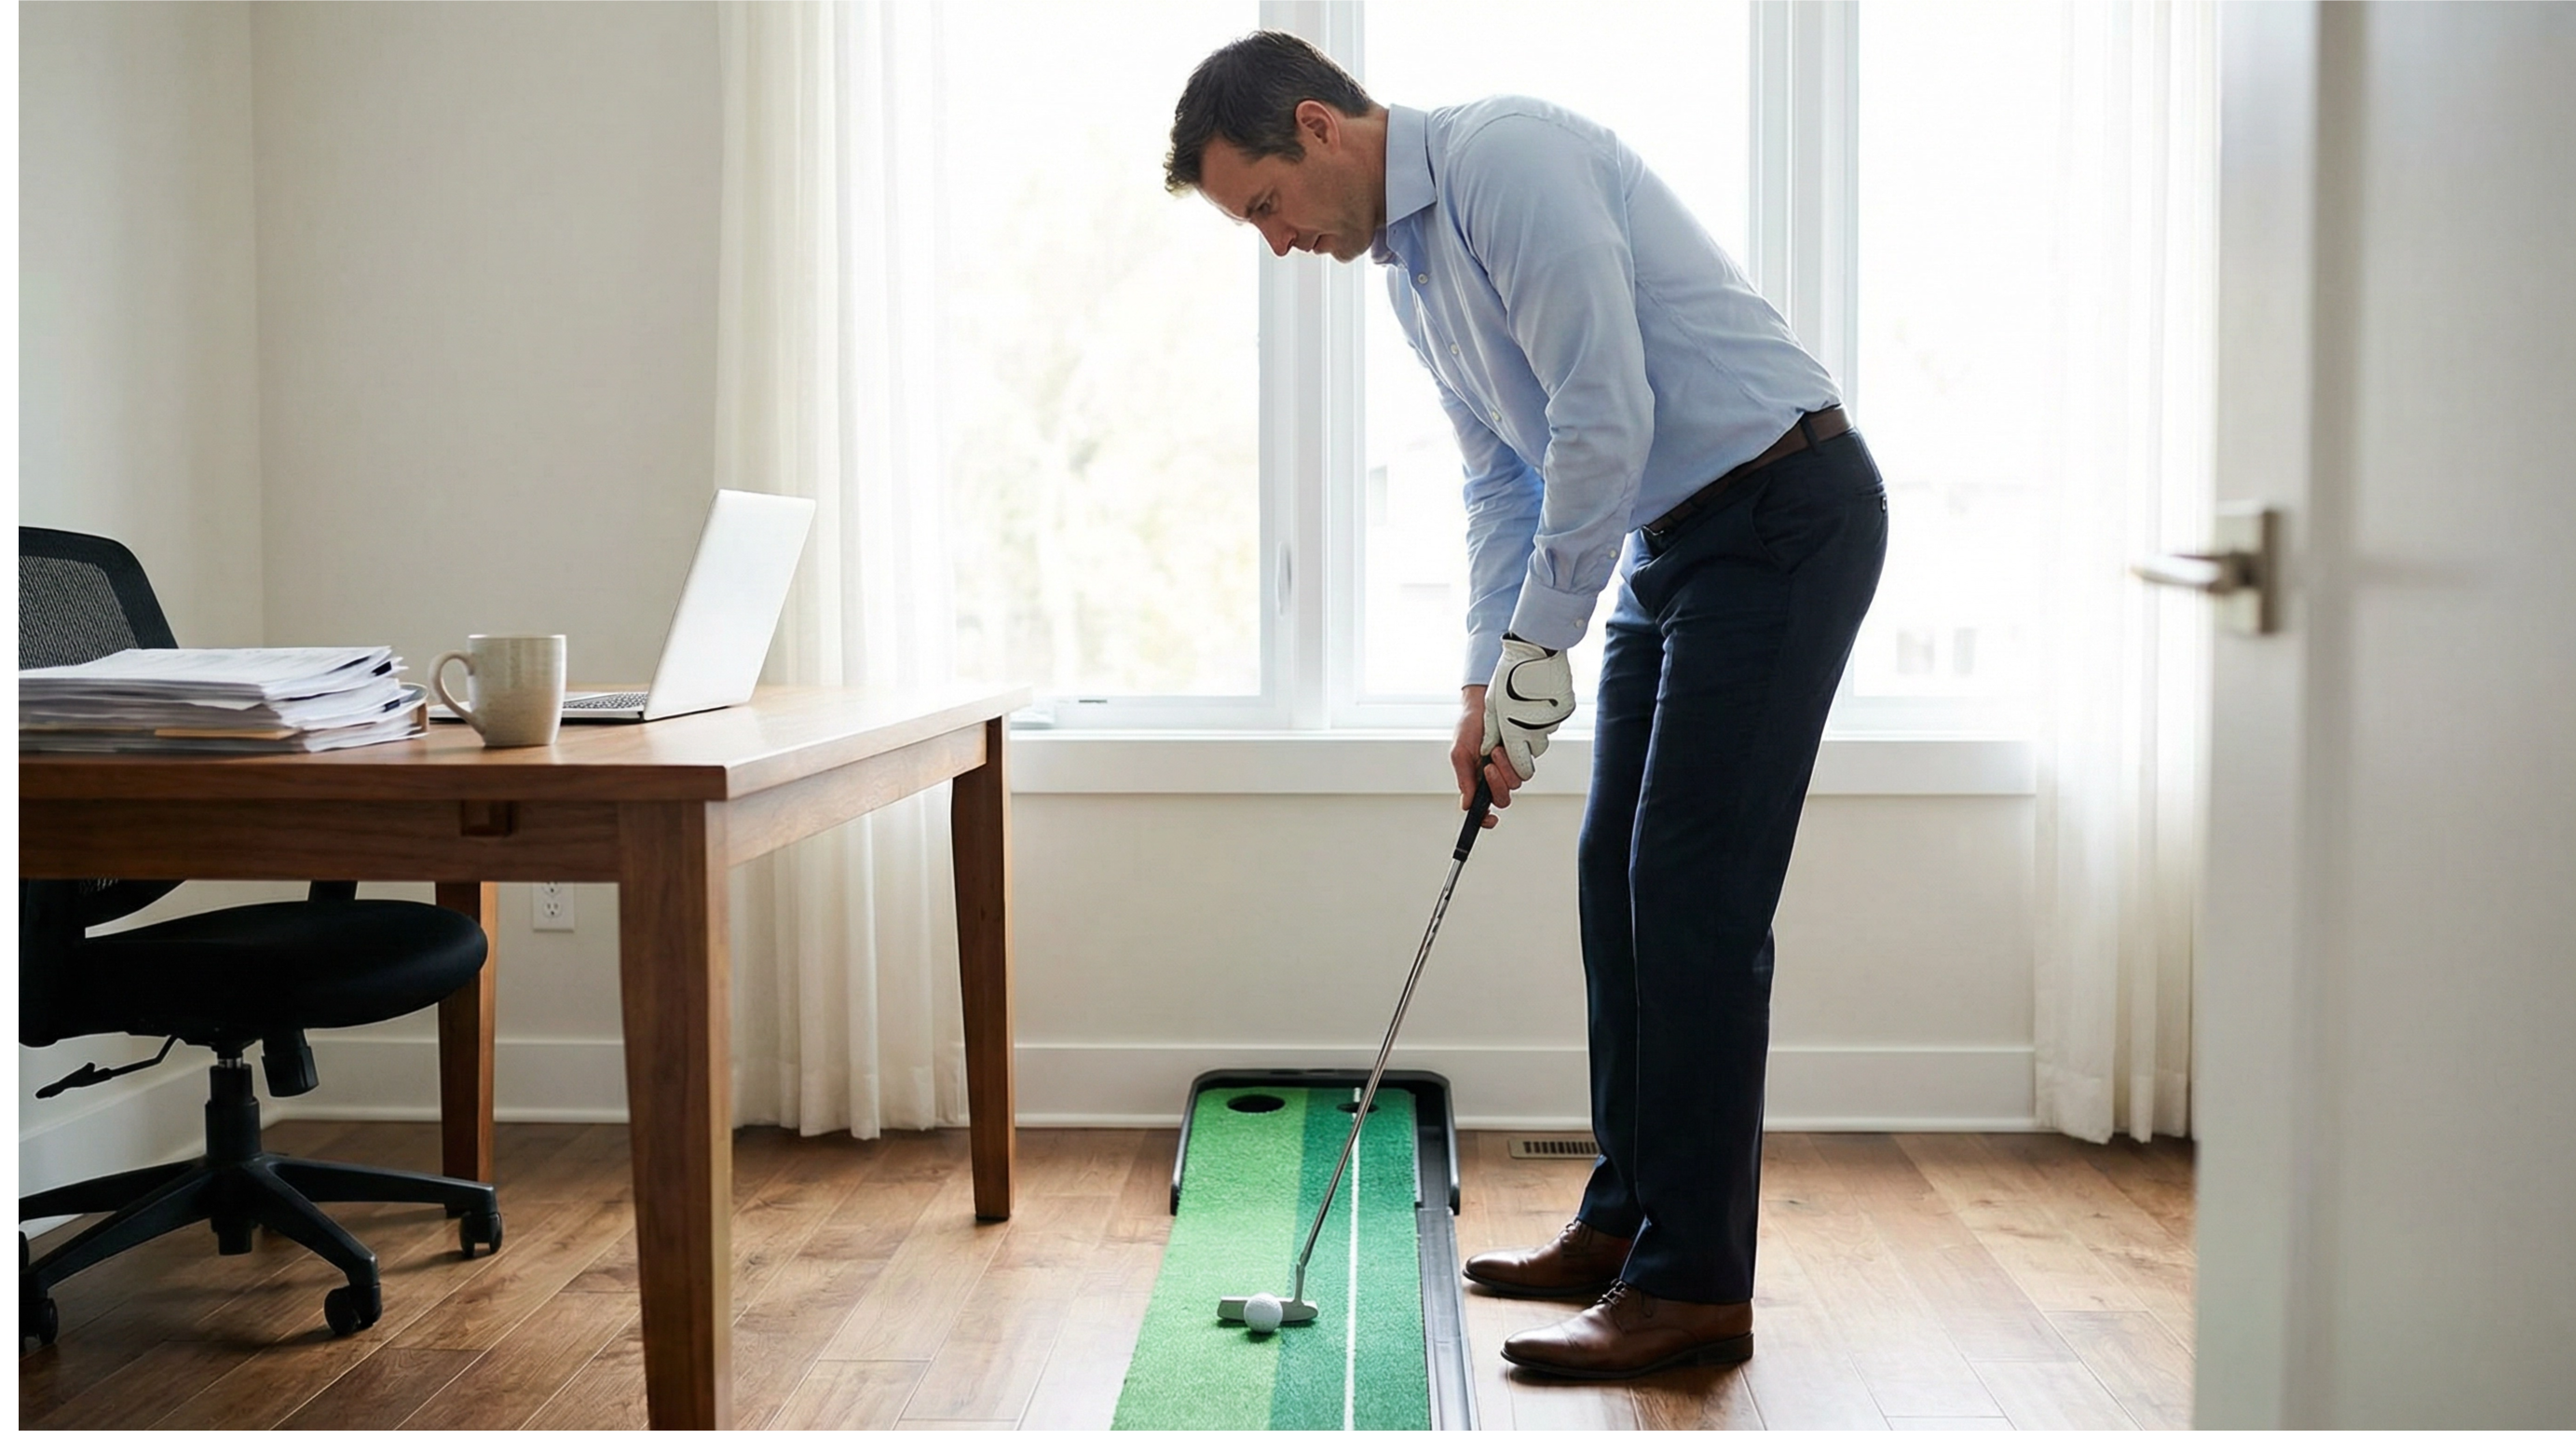
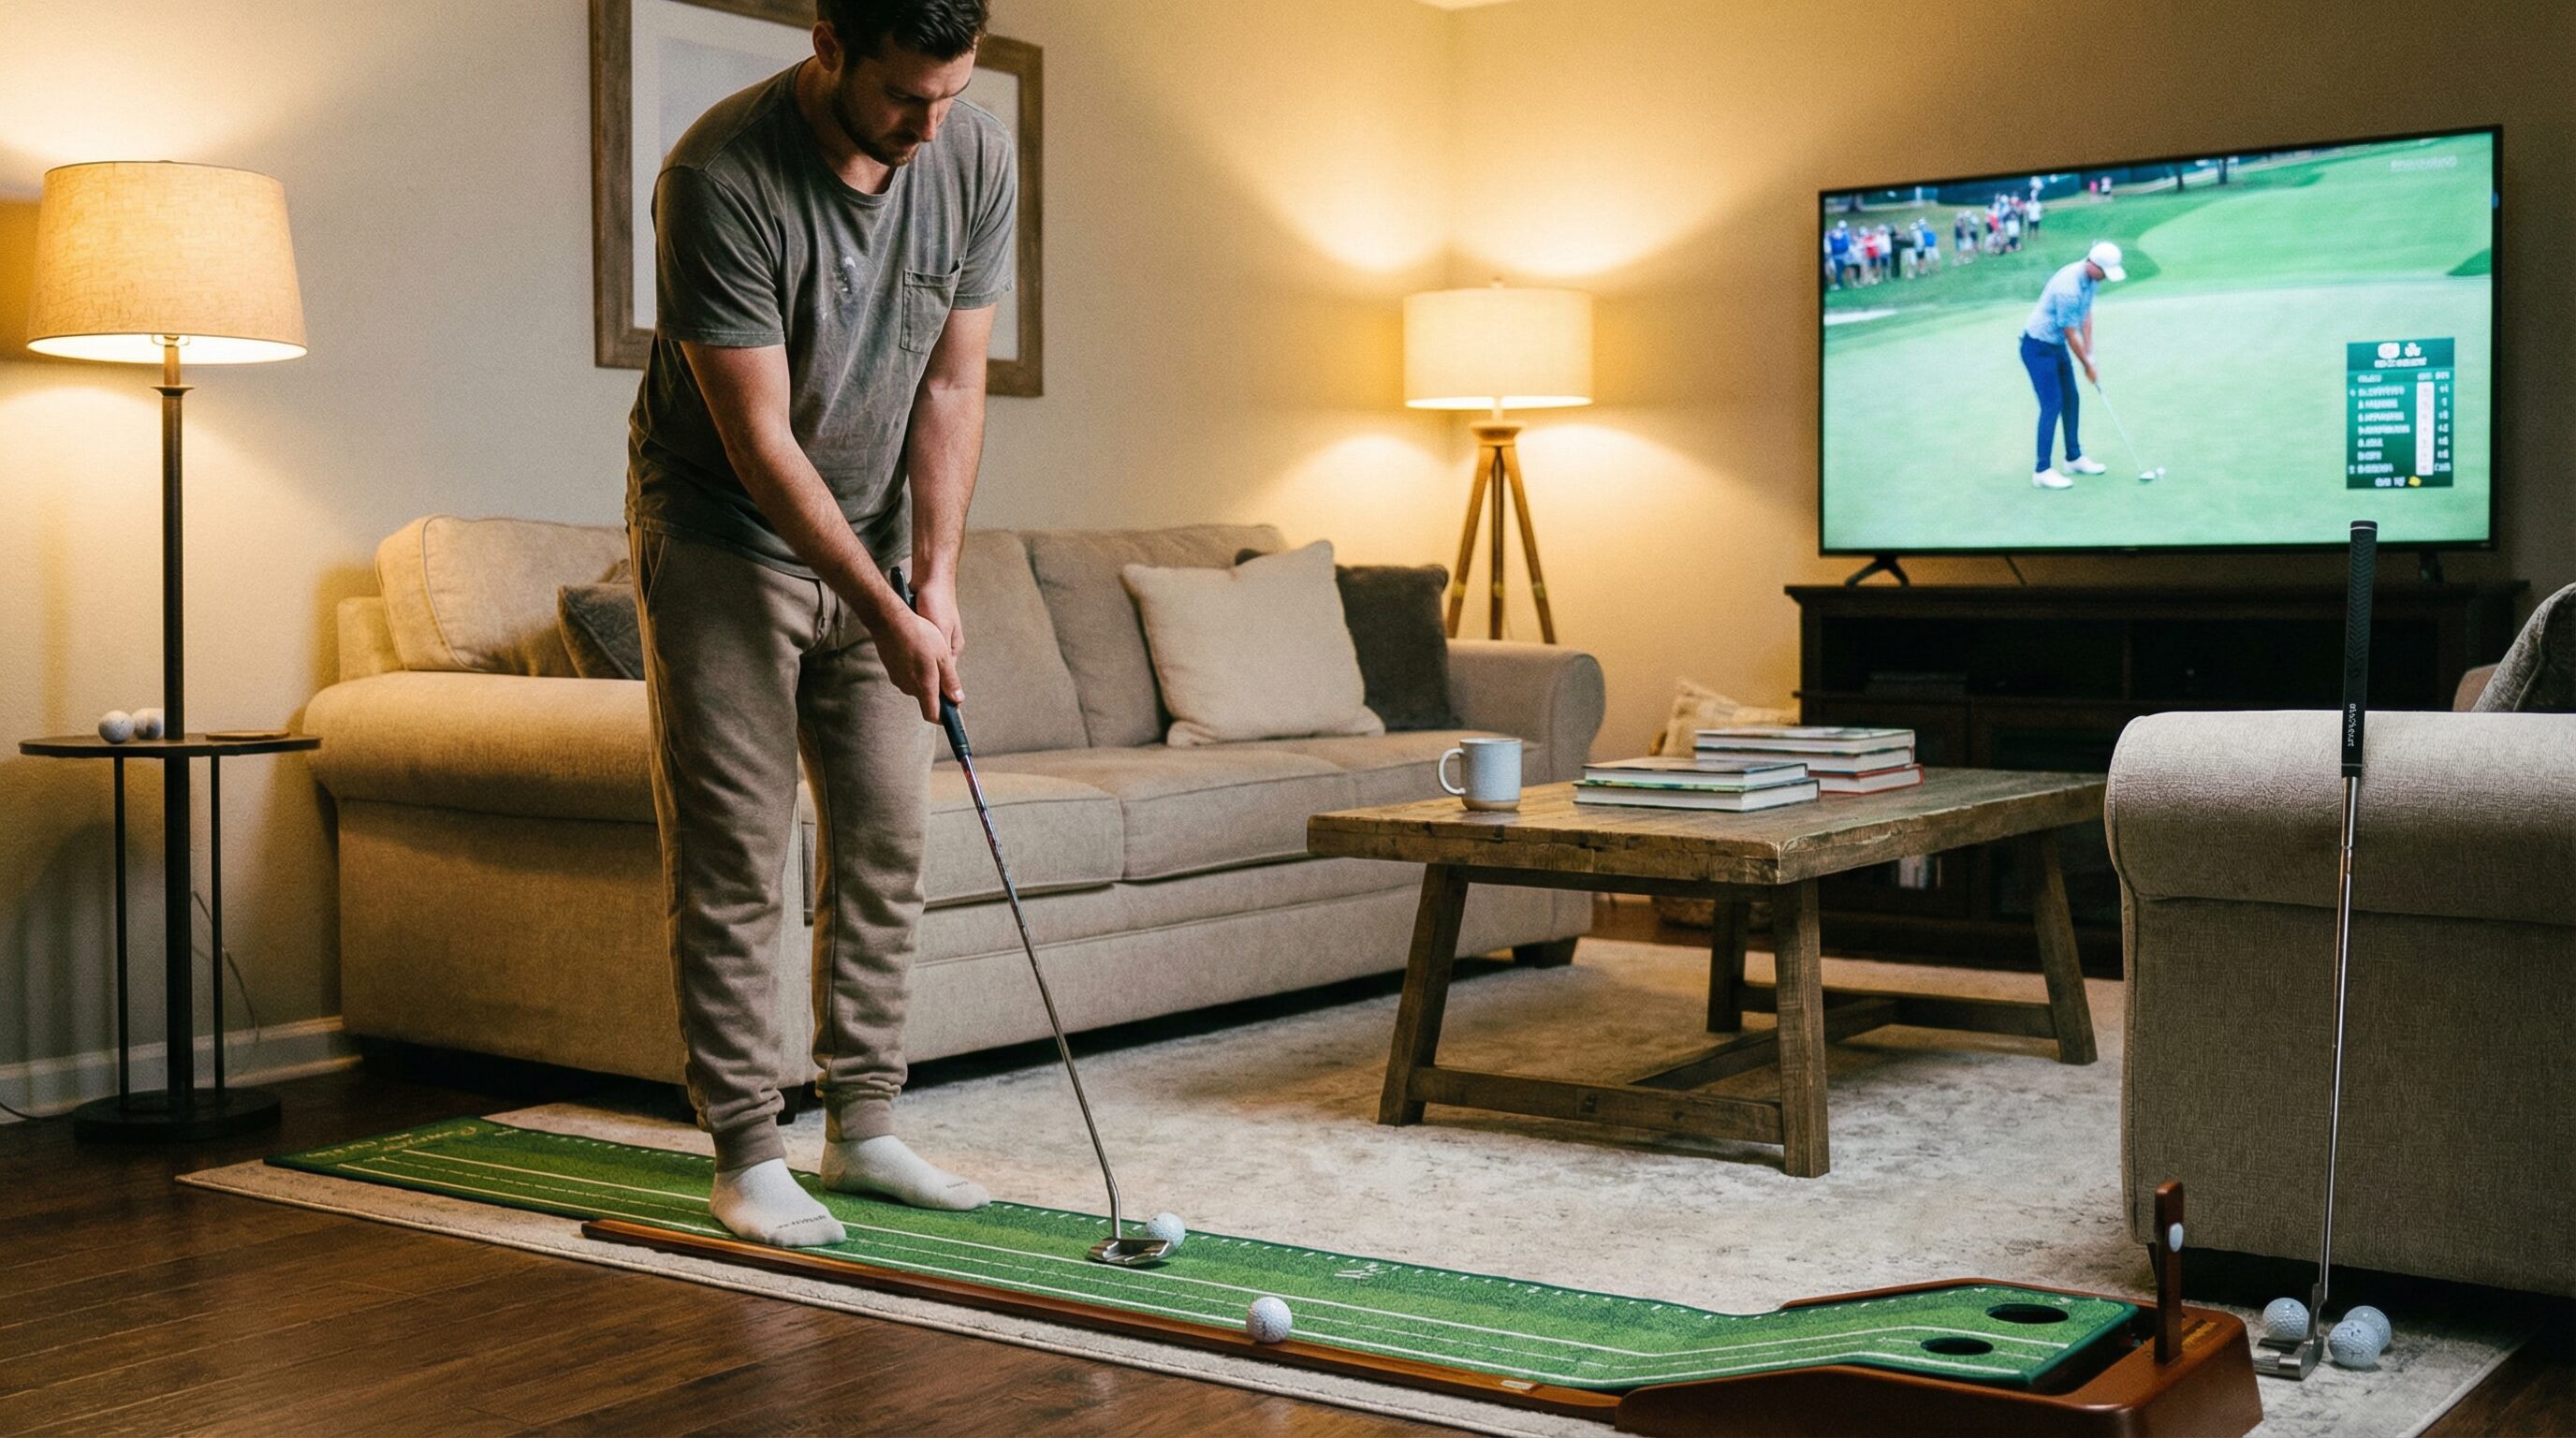
Putting Mat Routine (5 Minutes)

If you don’t have a putting mat, get one. It’s one of the best investments you can make for your golf game. A good putting mat allows you to work on your stroke mechanics, alignment, and speed control from the comfort of your home.

Here’s a simple five-minute routine: Set up three balls at three feet, six feet, and nine feet from the hole. Start with the three-footer. Make five putts in a row before moving to the six-footer. Then make three putts in a row from six feet before moving to nine feet. If you miss at any point, start over from the beginning.

ADVERTISEMENT

ADVERTISEMENT

ADVERTISEMENT

ADVERTISEMENT

ADVERTISEMENT

ADVERTISEMENT

ADVERTISEMENT

ADVERTISEMENT

ADVERTISEMENT

ADVERTISEMENT

ADVERTISEMENT

ADVERTISEMENT

ADVERTISEMENT

ADVERTISEMENT

ADVERTISEMENT

ADVERTISEMENT

ADVERTISEMENT

ADVERTISEMENT

ADVERTISEMENT

PING Hoofer

ADVERTISEMENT

ADVERTISEMENT

ADVERTISEMENT

ADVERTISEMENT

ADVERTISEMENT

ADVERTISEMENT

ADVERTISEMENT

ADVERTISEMENT

ADVERTISEMENT

ADVERTISEMENT

ADVERTISEMENT

ADVERTISEMENT

ADVERTISEMENT

ADVERTISEMENT

ADVERTISEMENT

ADVERTISEMENT

This drill builds both skill and mental toughness. It forces you to focus on every putt, because one miss means starting over. And because you’re working from home, you can do this while watching TV, before bed, or during a work break.

Mirror Work (3 Minutes)

Stand in front of a full-length mirror with a club in your hands. Go through your setup routine: grip, stance, posture, alignment. Check each element carefully. Are your hands in the right position? Is your spine angle correct? Are your feet aligned properly?

Then make slow-motion swings, watching yourself in the mirror. Focus on one element at a time—maybe your backswing plane or your hip rotation. This kind of visual feedback is incredibly valuable. You’re training your body to feel what correct positions look like, and you’re building muscle memory without hitting a single ball.

Balance Drill (2 Minutes)

Good balance is essential for a consistent golf swing, and you can work on it anywhere. Stand on one leg and make slow, controlled practice swings. Hold your finish position for three seconds. This drill strengthens your stabilizer muscles and improves your body awareness.

Do ten swings on each leg. It sounds simple, but it’s surprisingly challenging, and it will make a noticeable difference in your swing stability on the course.

Grip Check (1 Minute)

Once a day, pick up a club and check your grip. Make sure your hands are in the correct position, with the right amount of pressure. This might seem trivial, but grip issues are one of the most common problems I see in amateur golfers, and they’re also one of the easiest to fix. By checking your grip daily, you’re reinforcing good habits and preventing bad ones from creeping in.

These at-home drills don’t require much time or space, but they’re incredibly effective. The key is to do them regularly. Even five minutes a day will make a difference over time.

A golfer using a putting mat in their living room, showing how practice can be integrated into daily home life.

Range Prioritization: How to Practice Golf Efficiently with Limited Time

When you do make it to the range, you need to use your time wisely. Many golfers waste their range sessions by hitting ball after ball with no clear purpose. They’re there for an hour, but they’re not actually practicing—they’re just hitting balls. If you’re short on time, you can’t afford to do that.

Here’s how to prioritize your range time for maximum impact.

Start with Short Game (Always)

If you only have thirty minutes at the range, spend at least half of it on your short game. I know this isn’t as fun as hitting drivers, but it’s where you’ll see the fastest improvement. Work on chipping, pitching, and bunker play. These are the shots that save strokes, and they’re also the shots that most golfers neglect.

Set specific goals for your short game practice. For example: “I’m going to chip ten balls and get at least seven of them within three feet of the hole.” Having a clear target makes your practice more effective and gives you immediate feedback on your progress.

Focus on One Club at a Time

When you move to full swings, resist the urge to hit every club in your bag. Instead, pick one or two clubs and work with them exclusively. Maybe it’s your seven-iron and your driver. Hit ten balls with each, focusing on a specific goal—maybe it’s hitting a consistent draw, or maybe it’s improving your contact.

By limiting the number of clubs you use, you’re giving yourself more repetitions with each one. This leads to better learning and more consistent improvement.

End with Your Favorite Shot

Always end your range session by hitting a few balls with your favorite club, executing your favorite shot. This could be a smooth seven-iron or a high fade with your three-wood. The point is to finish on a positive note, with confidence and good feels. This mental boost will carry over to your next round.

Track Your Results

Bring a small notebook or use your phone to track your practice results. Write down what you worked on, how many balls you hit, and what you noticed. This doesn’t have to be elaborate—just a few notes. Over time, you’ll be able to see patterns and track your progress, which is incredibly motivating.

A golfer at the driving range with a notebook, tracking their practice results and staying focused on specific goals.

How to Measure Progress When Time Is Limited

One of the challenges of practicing in short bursts is that progress can feel slow or hard to measure. You’re not spending hours at the range, so you might not see dramatic improvements from one session to the next. But that doesn’t mean you’re not getting better. You just need to know what to look for.

Track Small Wins

Instead of focusing on big outcomes like lowering your handicap, focus on small, measurable wins. Did you make more putts from six feet this week than last week? Did you hit more greens in regulation during your last round? Did you avoid three-putting? These small improvements are signs that your practice is working.

Keep a simple log of these wins. It doesn’t have to be fancy—just a note in your phone or a page in a notebook. Over time, you’ll see that these small wins add up to significant improvement.

Use On-Course Performance as Your Guide

Ultimately, the goal of practice is to play better golf. So pay attention to your on-course performance. Are you getting up and down more often? Are you hitting more fairways? Are you making better decisions? These are the metrics that matter.

Don’t get too caught up in how your swing looks or feels on the range. What matters is how you perform when it counts. If your scores are improving and you’re playing more consistent golf, your practice is working—even if it’s only fifteen minutes at a time.

Celebrate Consistency, Not Perfection

Finally, remember that improvement in golf is about consistency, not perfection. You’re not trying to hit every shot perfectly. You’re trying to eliminate the big misses and play more solid, reliable golf. If you’re hitting fewer terrible shots and making fewer big numbers on your scorecard, you’re improving. That’s worth celebrating.

Making Practice a Habit

The real secret to improving when you’re short on time is making practice a habit. It doesn’t have to be a big production. It doesn’t have to take hours. It just has to be consistent.

Here are some strategies to help you build a practice habit, even when you’re busy.

Schedule It Like a Meeting

If practice is important to you, treat it like any other commitment. Put it on your calendar. Maybe it’s fifteen minutes every morning before work, or maybe it’s twenty minutes on your lunch break. Whatever it is, schedule it and protect that time.

Attach It to an Existing Routine

One of the easiest ways to build a new habit is to attach it to something you’re already doing. For example, if you always have coffee in the morning, make a few practice putts while your coffee brews. If you watch TV in the evening, do some mirror work or balance drills during commercial breaks. By linking practice to an existing routine, you’re more likely to stick with it.

Lower the Barrier to Entry

Make it as easy as possible to practice. Keep a putter and a few balls in your office. Keep a wedge and a chipping net in your garage. The easier it is to practice, the more likely you are to do it. Remove the friction, and you’ll practice more.

Focus on Enjoyment

Finally, remember that practice should be enjoyable. If you’re dreading it, you won’t stick with it. So find ways to make it fun. Challenge yourself with games and drills. Track your progress and celebrate your wins. Invite a friend to practice with you. The more you enjoy practice, the more you’ll do it, and the better you’ll get.

The Bottom Line: Quality Over Quantity

If there’s one thing I want you to take away from this article, it’s this: when it comes to practice, quality matters more than quantity. You don’t need hours at the range to improve your golf game. You just need focused, intentional practice that targets the skills that matter most.

Fifteen minutes of deliberate practice—working on putting, chipping, or a specific element of your swing—is far more valuable than an hour of mindless ball-hitting. And the beauty of short practice sessions is that they’re sustainable. You can fit them into your busy life without feeling overwhelmed or guilty about taking time away from other responsibilities.

So if you’re a busy golfer who loves the game but struggles to find time to practice, I encourage you to try the fifteen-minute framework. Pick a few at-home drills. Prioritize your short game when you make it to the range. Track your progress and celebrate your small wins. Over time, you’ll see real improvement in your game—not because you spent more time practicing, but because you practiced smarter.

Golf is a lifelong game, and improvement doesn’t happen overnight. But with consistent, focused practice—even in small doses—you can continue to get better, no matter how busy your life gets. And that’s something worth making time for.

Continue Reading
Advertisement
ADVERTISEMENT

ADVERTISEMENT

ADVERTISEMENT

ADVERTISEMENT

ADVERTISEMENT

ADVERTISEMENT

ADVERTISEMENT

ADVERTISEMENT

ADVERTISEMENT

ADVERTISEMENT

ADVERTISEMENT

ADVERTISEMENT

ADVERTISEMENT

ADVERTISEMENT

ADVERTISEMENT

ADVERTISEMENT

ADVERTISEMENT

ADVERTISEMENT

ADVERTISEMENT

ADVERTISEMENT

ADVERTISEMENT

ADVERTISEMENT

ADVERTISEMENT

PING Hoofer

ADVERTISEMENT

ADVERTISEMENT

ADVERTISEMENT

ADVERTISEMENT

ADVERTISEMENT

ADVERTISEMENT

ADVERTISEMENT

ADVERTISEMENT

ADVERTISEMENT

ADVERTISEMENT

ADVERTISEMENT

ADVERTISEMENT

Click to comment

Leave a Reply

Your email address will not be published. Required fields are marked *

Drills

The One Setup Change That Instantly Improves Ball Striking

Discover the one setup change that can instantly transform your ball striking. Resident PGA Pro breaks down how a simple shift in sternum alignment and weight distribution can eliminate fat and thin shots for good.

Avatar photo

Published

on

The One Setup Change That Instantly Improves Ball Striking - professional golf photography for The One Setup Change That Instantly Improves Ball Striking

I see it every single day on the lesson tee. A golfer walks up, pulls a mid-iron from their bag, and proceeds to strike the ground three inches behind the ball or thin a shot that screamingly misses the green. They usually look at their clubface or complain about their swing plane, but the reality is much simpler. Most amateur struggles aren’t born in the middle of the downswing; they are rooted in the address position. Today, I want to share the one setup change that has transformed more of my students’ games than any complex swing thought ever could.

Let’s work through this together. We often get caught up in the flashy world of technology and high-speed video analysis, but the fundamentals remain the ultimate gatekeeper of your scorecard. If you are tired of inconsistent contact and want to finally feel that buttery-soft compression at impact, you don’t need a new swing. You need a better foundation. This single adjustment to your lead-side alignment is the game improvement secret you’ve been searching for to stabilize your strike and gain immediate distance.

The Power of the One Setup: Shifting Your Sternum

The key is understanding where your center of gravity sits in relation to the ball. Most golfers set up with their weight distributed 50/50 or, even worse, leaning slightly toward their trailing foot. While this feels powerful, it moves the low point of your swing arc behind the golf ball. When I talk about the one setup change that matters, I am talking about preset forward shaft lean and centering your sternum slightly ahead of the ball at address.

When your sternum is behind the ball, you are essentially asking your body to perform a miracle to get back to a clean impact position. By shifting your upper body center just an inch or two toward the target during your setup, you are pre-setting a downward strike. This is the hallmark of professional ball striking. It ensures that the clubhead reaches its lowest point after it has already made contact with the turf, creating that elusive ball-then-turf interaction we all crave.

Here’s how I want you to visualize it: imagine a plumb line hanging from the center of your chest. In your current setup, that line likely points directly at the ball or behind it. For the one setup that changes everything, I want that plumb line to point exactly one inch in front of the ball toward your target. This subtle shift ensures your weight stays internal and forward, preventing the dreaded “hang back” that causes chunks and thins.

Why This Game Improvement Tactic Works for Every Club

You might be wondering if this applies to your wedges as much as your long irons. The answer is a resounding yes. In fact, this is one of the most versatile golf tips I can offer because it standardizes your delivery. When your lead hip and sternum are stacked correctly, the radius of your swing becomes predictable. Predictability is the cornerstone of game improvement today, where we prioritize consistency over raw, uncontrolled power.

During a recent lesson with a high-handicap student, we focused entirely on this lead-side pressure. He was convinced he had a “casting” problem with his wrists. I showed him that his wrists were only casting because his body was trying to reach a ball that his setup had placed too far forward relative to his center. Once we implemented the one setup adjustment—leaning the shaft forward and centering the chest over the lead foot—his “casting” disappeared instantly. His body finally had the space to rotate properly.

ADVERTISEMENT

ADVERTISEMENT

ADVERTISEMENT

ADVERTISEMENT

ADVERTISEMENT

ADVERTISEMENT

ADVERTISEMENT

ADVERTISEMENT

ADVERTISEMENT

ADVERTISEMENT

ADVERTISEMENT

ADVERTISEMENT

ADVERTISEMENT

ADVERTISEMENT

ADVERTISEMENT

ADVERTISEMENT

ADVERTISEMENT

ADVERTISEMENT

ADVERTISEMENT

PING Hoofer

ADVERTISEMENT

ADVERTISEMENT

ADVERTISEMENT

ADVERTISEMENT

ADVERTISEMENT

ADVERTISEMENT

ADVERTISEMENT

ADVERTISEMENT

ADVERTISEMENT

ADVERTISEMENT

ADVERTISEMENT

ADVERTISEMENT

ADVERTISEMENT

ADVERTISEMENT

ADVERTISEMENT

ADVERTISEMENT

The Role of Forward Shaft Lean

A major component of this setup change is the position of your hands. If your sternum moves forward, your hands must follow. At address, your lead arm and the club shaft should form a straight line that points toward your lead shoulder. This prevents the clubhead from passing the hands too early in the hitting zone. It’s a simple mechanical advantage that delofts the club and increases ball speed without any extra physical effort.

Mastering the Lead-Side Pivot

Now that we’ve adjusted the address, we have to talk about how it affects the movement. Because you are starting in a more “forward” position, your backswing will naturally feel more compact and controlled. You won’t feel the need to sway off the ball to find power. Instead, you’ll find that you can pivot around your lead leg with much more efficiency. This is a primary pillar of modern game improvement: minimizing unnecessary lateral movement.

Focus on the fundamentals of the turn. As you take the club back from the one setup position, maintain the pressure in the inside of your lead foot. You should feel like you are winding up against a sturdy post. This coiled tension is what translates into explosive speed on the way down. If you sway back, you lose the advantage of the setup. Stay centered, stay tall, and let your shoulders rotate around that slightly forward-leaning spine angle.

I often tell my students to imagine they are standing in a narrow barrel. You want to turn within that barrel without bumping the sides. By starting with your weight slightly forward, you’ve already cleared the space you need for the downswing. It’s a proactive approach to the golf swing rather than a reactive one. You are no longer fighting your own geometry; you are using it to your advantage.

Drill: The Lead-Toe Balance

If you’re struggling to feel this, try this simple drill. Set up to the ball normally, then lift the heel of your trailing foot off the ground, balancing only on your toe. This forces nearly 80% of your weight onto your lead side. Hit a few half-shots from this position. You’ll notice how easy it is to strike the ball cleanly when your center is stabilized forward. This is the extreme version of the one setup change we’re looking for, and it’s a great way to build muscle memory.

Applying Swing Principles to Your Routine

As we move further into 2026, the trend in instruction is moving toward simplicity. We are moving away from the thousand-point checklists and toward singular, impactful changes. This setup adjustment fits that mold perfectly. It’s a “set it and forget it” mechanic. Once you verify your alignment and sternum position in your pre-shot routine, you no longer have to think about it during the swing.

Incorporating this into your routine is easy. Start by standing behind the ball and picking your target. As you walk into your stance, place your lead foot first and align your lead hip over it. Only then should you set your trailing foot. This ensures your foundation is built from the target-side back, rather than just standing wide and hoping for the best. It’s these small golf tips that separate the single digits from the mid-handicappers.

Remember, the goal of game improvement isn’t just to hit one good shot; it’s to make your bad shots better. When you utilize the one setup that favors the lead side, your “misses” become thin shots that still chase up toward the green, rather than fat shots that leave you 40 yards short. That shift in your miss-hit profile is what actually lowers your handicap over the course of a season.

Conclusion: Your Path to Better Contact

Improving your ball striking doesn’t require a total swing overhaul or hours of grueling practice. By focusing on the one setup change—centering your sternum and pressure slightly forward—you create the optimal conditions for a crisp, compressed strike. We’ve covered why this works, how it stabilizes your swing arc, and how to drill the feeling into your subconscious. These fundamentals are the most reliable path to better golf in 2026 and beyond.

I want you to take this to the range this weekend and see the difference for yourself. Focus on that lead-side alignment and watch your ball flight flatten out and penetrate. Consistency is just one setup change away. Have you tried this technique before, or do you tend to keep your weight back? Let us know how it worked for you in the comments below! What’s your biggest challenge with ball striking right now? Tell us below, and let’s get your game on track together.

Continue Reading

Drills

Master Your Game: 3 Range Drills You Can Do in Just 20 Minutes

Short on time but want to lower your scores? Our Resident PGA Pro shares 3 range drills that take only 20 minutes but deliver maximum results for your game improvement.

Avatar photo

Published

on

3 Range Drills You Can Do in 20 Minutes - professional golf photography for Master Your Game: 3 Range Drills You Can Do in Just 20 Minutes

We have all been there. You have a tee time in forty minutes, your swing feels a bit out of sync, and you are frantically pounding a bucket of balls without a clear plan. As a PGA Pro, I see this every single day on the practice tee—golfers searching for a miracle in a bucket of 100 balls. The truth is, more volume rarely leads to better scores. What you actually need is a structured, purposeful routine that sharpens your mechanics and prepares your mind for the course.

Quality practice is about intention, not duration. In today’s fast-paced world, finding three hours for the range is a luxury most of us don’t have. That is why I have developed these 3 range drills specifically designed for the golfer on a schedule. Whether you are looking for game improvement or just a quick tune-up before your Saturday morning round, let’s work through this together to ensure every swing you take actually moves the needle on your handicap.

The Gate Drill for Pure Ball Striking

The first of our 3 range drills focuses on the most fundamental aspect of the game: center-face contact. I often tell my students that you can have the most beautiful swing in the world, but if you cannot find the middle of the clubface, it simply does not matter. This drill is designed to provide immediate, tactile feedback on your swing path and impact point.

To set this up, place two alignment sticks or even two golf tees just slightly wider than the width of your clubhead. Place your ball directly in the center of this “gate.” The goal is simple: strike the ball without touching the gates. If you tend to come over the top, you will likely clip the outer gate. If your path is too far from the inside, the inner gate will let you know immediately. This is about precision and discipline.

Why Feedback Matters in Game Improvement

The reason this works so well for game improvement is that it removes the guesswork. When you are practicing alone, it is easy to fall into the trap of “feeling” like you made a good swing when the result was actually a lucky miss. The gate drill forces your hands and brain to coordinate a neutral path. Start with half-swings using a 7-iron to get the feel, then gradually work up to full speed.

In my years of teaching, I have found that golfers who spend just five minutes on this drill develop a much higher level of “clubhead awareness.” You begin to feel where the head is in space. By the time you reach the first tee, your subconscious is already calibrated to find the sweet spot. Remember, we aren’t looking for power here; we are looking for the pure click of a centered strike.

ADVERTISEMENT

ADVERTISEMENT

ADVERTISEMENT

ADVERTISEMENT

ADVERTISEMENT

ADVERTISEMENT

ADVERTISEMENT

ADVERTISEMENT

ADVERTISEMENT

ADVERTISEMENT

ADVERTISEMENT

ADVERTISEMENT

PING Hoofer

ADVERTISEMENT

ADVERTISEMENT

ADVERTISEMENT

ADVERTISEMENT

ADVERTISEMENT

ADVERTISEMENT

ADVERTISEMENT

ADVERTISEMENT

ADVERTISEMENT

ADVERTISEMENT

ADVERTISEMENT

ADVERTISEMENT

ADVERTISEMENT

ADVERTISEMENT

ADVERTISEMENT

ADVERTISEMENT

ADVERTISEMENT

ADVERTISEMENT

ADVERTISEMENT

ADVERTISEMENT

ADVERTISEMENT

ADVERTISEMENT

ADVERTISEMENT

The 9-Shot Challenge: Mastering Flight Control

Once we have established solid contact, we need to move toward shot-making. This is the second of our 3 range drills, and it is a personal favorite of mine for 2025 prep. On the course, you rarely face a perfectly flat lie with no wind. You need to be able to curve the ball and control the trajectory. The 9-Shot Challenge forces you to become a creator rather than a mechanical robot.

Here is how it works: you are going to attempt nine different shots in a row. These include a low draw, a low straight shot, and a low fade; then a medium draw, medium straight, and medium fade; and finally, a high draw, high straight, and high fade. Don’t worry if you can’t pull off all nine perfectly at first. The key is the intent. By trying to change your ball flight, you learn how your setup and swing path affect the outcome.

Technical Adjustments for Shape and Height

To hit it low, move the ball slightly back in your stance and keep your finish abbreviated. To hit it high, move it forward and let your hands finish high over your shoulder. For the draws and fades, focus on your alignment and your clubface at impact. If you want to fade it, open your stance slightly but keep the face pointed at the target. To draw it, do the opposite.

This drill is one of the best golf tips I can give for mental toughness. It prevents you from getting into a “range groove” where you hit the same club to the same target over and over. In a real round, every shot is different. By practicing these variations, you are building a toolkit that you can rely on when the wind picks up or you need to navigate around a tree on the back nine.

The Pressure-Cooker Finish

The final phase of our 20-minute session is about simulation. Many golfers can hit beautiful shots on the range but struggle to translate that to the course. This is often because the range lacks consequences. To fix this, we use the “Pressure-Cooker” drill. Pick a specific target on the range—perhaps a yardage marker or a specific flag—and imagine it is the 18th green with a career-best score on the line.

You must hit three different clubs (for example, a driver, a 6-iron, and a wedge) to three different targets. If you miss a target, you have to start the sequence over. This introduces a small but effective level of performance anxiety. It forces you to go through your full pre-shot routine: pick your line, take your breath, visualize the flight, and execute. You aren’t just hitting balls anymore; you are playing golf.

Incorporating Game Improvement Goals

As we look toward your goals for the coming year, this type of “random practice” is what separates the single-digits from the high-handicappers. It builds what we call “functional skill.” When you only have 20 minutes, spending the last five minutes under self-imposed pressure ensures that your brain stays engaged. It bridges the gap between the relaxed environment of the practice tee and the high-stakes environment of the competition.

I always tell my students: don’t leave the range until you’ve “completed” a pressure task. Even if it’s just hitting one fairway with your driver, that small win builds confidence. You want to walk to your car feeling like a winner, not like someone who just went through the motions. This intentionality is the secret sauce to rapid improvement.

Conclusion: Making the Most of Your Practice

Effective practice doesn’t require hours of your time; it requires a plan. By utilizing these 3 range drills—the Gate Drill for contact, the 9-Shot Challenge for control, and the Pressure-Cooker for realism—you can transform your game in just 20 minutes. Focus on the fundamentals, stay disciplined with your routine, and remember that every shot should have a purpose. If you commit to this structured approach, I guarantee you will see your scores begin to drop as your confidence rises.

I want to hear from you as you implement these routines. Which of these drills do you think will be the biggest challenge for your current game? Have you tried this type of timed practice before? Share your thoughts and your progress in the comments below! Let’s make 2026 your best year on the links yet.

Continue Reading

Drills

The 3-Putt Killer: A Simple Drill to Master Your Speed Control

Eliminate three-putts for good with this simple and effective putting drill. Our Resident PGA Pro breaks down how to master your speed control and transform your game on the greens.

Avatar photo

Published

on

There is nothing more frustrating in golf than a three-putt. You’ve done the hard work of getting to the green, only to give away a shot with a clumsy performance on the putting surface. The primary culprit for most amateurs? Poor speed control. In this article, we will break down a simple drill, which is an effective putting drill designed to help you eliminate three-putts by mastering your speed control. This is a fundamental putting practice that can transform your game.

Understanding the Importance of Speed Control

Most golfers focus excessively on the line of their putt. While the line is important, speed is the dominant factor in successful putting. If your speed is correct, the ball has a much better chance of falling into the hole, even if the line is slightly off. Good speed control ensures that even your missed putts leave you with a simple tap-in, taking the dreaded three-putt out of play. This putting drill is designed to train your brain and body to feel the correct distance, which is the key to consistent speed.

The Ladder, A Simple Drill: Your Path to Fewer Putts

One of the most effective drills for improving speed control is the “Ladder Drill.” It’s a simple putting practice that requires only three balls and a putter. Here’s how to set it up and execute it to perfection.

Step 1: Setting Up the Drill

Find a relatively flat area on the practice green. You don’t need a hole for this drill. Place three balls in a line, about three feet apart from each other, starting about 10 feet from the edge of the green. Your setup should look like a ladder, with each ball representing a rung.

ADVERTISEMENT

ADVERTISEMENT

ADVERTISEMENT

ADVERTISEMENT

ADVERTISEMENT

ADVERTISEMENT

ADVERTISEMENT

ADVERTISEMENT

ADVERTISEMENT

ADVERTISEMENT

ADVERTISEMENT

ADVERTISEMENT

ADVERTISEMENT

ADVERTISEMENT

ADVERTISEMENT

ADVERTISEMENT

ADVERTISEMENT

ADVERTISEMENT

ADVERTISEMENT

ADVERTISEMENT

ADVERTISEMENT

ADVERTISEMENT

ADVERTISEMENT

ADVERTISEMENT

ADVERTISEMENT

ADVERTISEMENT

ADVERTISEMENT

ADVERTISEMENT

ADVERTISEMENT

ADVERTISEMENT

ADVERTISEMENT

ADVERTISEMENT

PING Hoofer

ADVERTISEMENT

ADVERTISEMENT

ADVERTISEMENT

Step 2: Executing the Drill

1.First Putt (10 feet): Start with the ball closest to you (10 feet from the edge). Your goal is to putt the ball so that it stops as close to the fringe as possible without going off the green.

2.Second Putt (13 feet): Move to the second ball. Again, your goal is to get the ball as close to the fringe as possible.

3.Third Putt (16 feet): Finally, putt the third ball with the same objective.

After you have completed the first “ladder,” retrieve your balls and repeat the process from different distances and angles. The key is to create a new challenge each time. This forces you to adapt and develop a feel for different putt lengths.

A close-up of a golf ball rolling on a putting green showing speed control.

Why This Putting Drill Works

The Ladder Drill is effective because it isolates the feeling of distance. By removing the hole as a target, you are forced to concentrate solely on the speed of the putt. This helps you develop a more intuitive sense of how hard to hit the ball to cover a specific distance. Consistent practice of this drill will help you eliminate three-putts and build confidence on the greens.

Key Takeaways for Your Putting Practice

•Focus on Speed: Prioritize speed over line in your putting practice.

•Practice with Purpose: Use drills like the Ladder Drill to create a structured and effective practice routine.

•Develop Your Feel: The goal is to develop an intuitive feel for distance, which will translate to better performance on the course.

By incorporating this simple putting drill into your regular practice, you will be well on your way to becoming a more confident and consistent putter. Say goodbye to the frustration of the three-putt and hello to lower scores. What are your favorite putting drills for speed control? Share your thoughts in the comments below!

Continue Reading

Trending

Click here to get all the latest golf news

Close