Competitive Edge
The 3 Shots That Decide Your Scorecard
Want to shoot lower scores? Discover the 3 shots that decide your scorecard, based on strokes-gained data, and how to practice them to lower your golf score.


If you are serious about finding the shots that lower your golf score, you have to stop looking at the driver. As the Resident PGA Pro, I watch weekend golfers spend hours on the driving range trying to squeeze an extra ten yards out of their tee shots. They beat ball after ball, hoping that a longer drive will magically transform their scorecard. But the reality is that the driver is not what is costing you strokes. The truth, backed by years of strokes-gained data, is that your scoring potential is hidden in three very specific, highly counterintuitive situations.
The strokes-gained philosophy, popularized by Mark Broadie and PGA Tour ShotLink data, revolutionized how we understand golf performance. It proves that the gap between a tour professional and a mid-handicap amateur is not just about raw power; it is about efficiency in specific scoring zones. If you want to stop bleeding strokes and start playing to your potential, you need to reevaluate your golf practice priorities. In this article, we are going to break down the three shots that actually decide your scorecard and give you the exact blueprint to master them.
The Problem Most Golfers Face
The biggest problem most golfers face is a massive disconnect between how they practice and where amateurs lose strokes on the course. You can spend an entire afternoon grooving a beautiful 7-iron on a perfectly flat range mat, but that skill rarely translates to the uneven lies and high-pressure situations you face during a round.
Strokes-gained analysis reveals that the largest scoring swings for weekend golfers happen in situations that are chronically under-practiced. When we look at strokes gained for amateurs, the gap between a scratch golfer and a 15-handicap is heavily concentrated in specific short-game yardages, mid-range putts, and approach strategy on par 3s. Until you align your practice routine with the statistical reality of the game, your scores will remain stagnant.
The table below illustrates how misaligned most amateur practice sessions are with the shots that actually matter on the course.
Shot Type Where Amateurs Practice It Where It Costs Strokes Driver Heavily practiced Moderate impact on score Full irons Frequently practiced Moderate impact on score 50–100 yard wedge Rarely practiced High impact — chronically underpracticed 6-foot putt Almost never practiced High impact — rounds decided here Par-3 strategy Never practiced High impact — highest variance hole type
Step-by-Step Fix: The 3 Shots That Decide Your Scorecard
To lower your scores, you must address the three specific shots that dictate your performance. These are the shots that lower your golf score and separate the players who break 80 from those who struggle to break 90.
Shot 1 — The 50 to 100 Yard Wedge
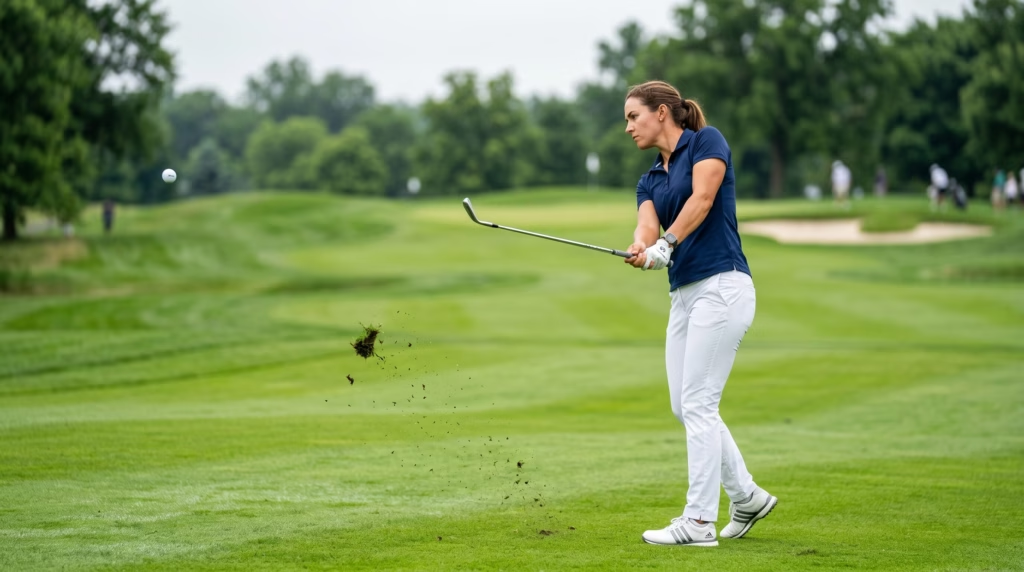
Image Title: Wedge at impact — the partial shot that defines scoring rounds
Nano Banana Prompt: close-up of a golf wedge at impact hitting a ball from short range, 75 yards from the green, fairway grass, divot flying, soft diffused daylight, telephoto sports photography, ultra realistic, editorial golf photography
This is the scoring shot that tour players live on, and it is the exact shot that amateurs are statistically worst at relative to their handicap. The gap between amateur and professional proximity to the hole from this range is substantial. During an average round, you will face several of these awkward, in-between yardages — and the way you handle them will define your scorecard.
The problem is that most weekend golfers never practice this specific distance band. They go to the range and hit full wedges or full irons. When they find themselves 75 yards from the pin, they have no idea how to execute a partial swing. They decelerate, chunk the ball, or blade it over the green, turning a prime scoring opportunity into a guaranteed bogey or worse.
To fix this, you must dedicate specific range sessions to 50, 75, and 100-yard wedges. You need to measure your carry distance for different swing lengths. Most amateurs are surprised to learn how inconsistent their wedge distances truly are. By dialing in a half-swing and a three-quarter swing with your wedges, you turn these awkward yardages into automatic greens in regulation.
Shot 2 — The 6-Foot Putt
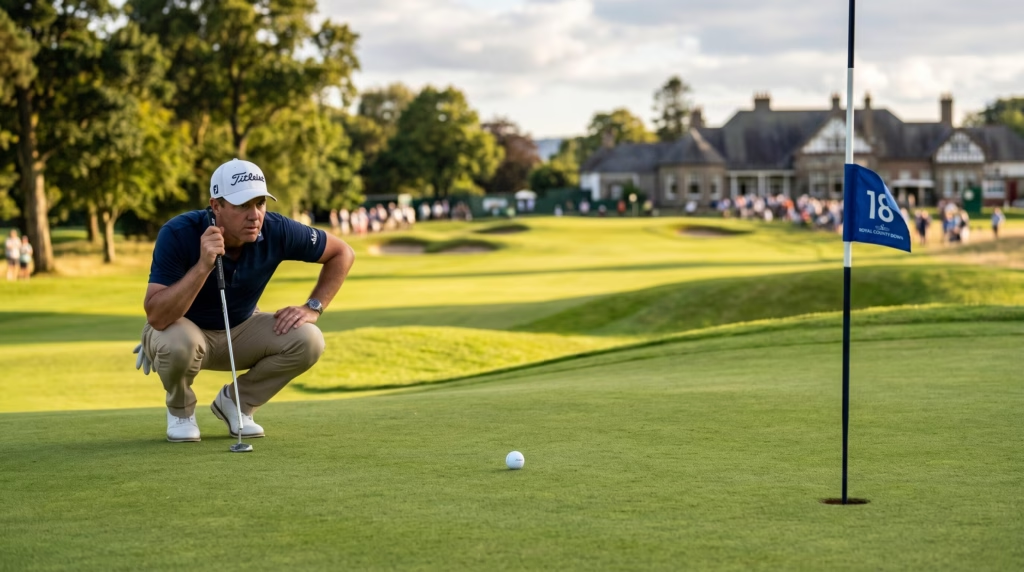
Nano Banana Prompt: golf ball sitting six feet from the hole on a fast championship putting green, golfer crouched reading the line, late afternoon golden light, shallow depth of field, ultra realistic editorial sports photography, precision and tension
Forget the 3-footer — that should be automatic. Forget the 20-footer — rarely does anyone make those with consistency. The 6-foot putt is the highest-leverage makeable putt in golf. PGA Tour data shows that professional players convert putts from six feet at a rate around 70%. The make-rate gap between a tour pro and a mid-handicap from this distance is wide, and these putts come up several times a round.
They are the par saves that keep momentum alive and the birdie putts that drop your score. Yet, amateurs tend to practice tap-ins because they are easy, and long lag putts because they are fun. They completely ignore the 6-foot zone where rounds are actually decided.
To fix this, you need to live in the 6-foot circle during your practice sessions. You must train your brain to see the 6-footer as a highly makeable putt rather than a stressful challenge. The circle drill, described below, is the most effective way to do this.
This approach is the same philosophy behind the Ladder Drill covered in our putting guide — both are rooted in the strokes-gained, practice-smarter framework. For a deeper dive into distance control, read Urgent: Want To Save 3 Strokes a Round?
Shot 3 — The Par-3 Tee Shot

Nano Banana Prompt: golfer on par-3 tee box, beautiful elevated green visible in the background with a flag, lush championship golf course, soft morning light, wide angle editorial sports photography, ultra realistic, strategy and precision feel














Par 3s represent the highest-variance scoring opportunity in golf. A good tee shot sets up a birdie look, while a bad one almost always leads to a bogey or worse. Statistically, amateurs lose strokes on par 3s at a higher rate than on par 4s or par 5s, and the primary reason is not a lack of iron play — it is a lack of strategy.
The most common mistake weekend golfers make is aiming directly at the pin, regardless of where it is located. If the pin is tucked behind a bunker on the right edge of the green, the amateur will aim right at it, miss slightly, and find themselves short-sided in the sand. Professionals overwhelmingly play to the fat part of the green and let the ball find the hole. They understand that a 30-foot putt from the center of the green is always better than a bunker shot from a plugged lie.
To fix this, you must change your strategy immediately. On your next round, deliberately aim at the safe center of every par-3 green, regardless of the pin position. Track how many more makeable putts result from this conservative approach. The data will speak for itself.
Practice Drills
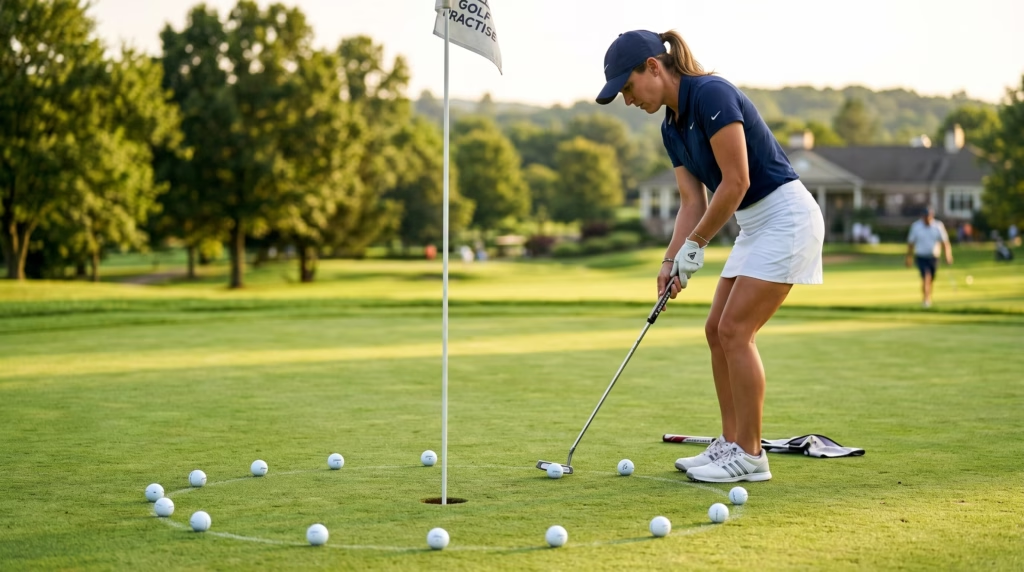
Nano Banana Prompt: golfer practicing short putts on a practice green, multiple golf balls arranged in a circle around the hole, late afternoon warm light, professional sports photography, shallow depth of field, ultra realistic editorial photography, focused and purposeful practice
Knowing what to practice is only half the battle; you must execute the right drills to build these skills. Here are the three specific drills that correspond to each scoring shot.
For the partial wedge shot, use the Carry Mapping Drill. Head to the range with your wedges and focus entirely on your 50, 75, and 100-yard targets. Hit ten balls to each target using a controlled, partial swing. Pay attention to the length of your backswing — perhaps bringing your lead arm parallel to the ground for a 75-yard shot. Memorize that feeling so you can replicate it on the course. Write your carry distances down; knowing your numbers is the foundation of consistent wedge play.
For the 6-foot putt, employ the Circle Drill. Place six golf balls in a circle around the hole, each exactly six feet away. Your goal is to make all six putts consecutively before you leave the practice green. If you miss one, you must start over. This drill simulates the pressure of a real round and builds immense confidence from this critical distance. It is the same pressure-building concept behind the 3-Foot Circle Drill in our three-putting guide — for more on eliminating putts from this range, see How to Stop Three-Putting: 7 Drills That Actually Work.
For the par-3 tee shot, use the Center Green Discipline Drill. This is an on-course drill. For your next three rounds, you are forbidden from aiming at the flag on any par 3. You must pick a target in the exact center of the green and commit to that line. Review your scorecard afterward; you will likely find that your par-3 scoring average has improved significantly.
Common Mistakes
When trying to implement these changes, amateurs often fall into a few predictable traps. The most common mistake is reverting to old habits on the practice tee. It is tempting to pull out the driver and hit bombs when your partial wedges are not working, but you must resist that urge. The driver is not the problem.
Another frequent error is failing to track actual yardages. If you are guessing how far your half-swing wedge goes, you are not practicing effectively. You must know your numbers. A simple notebook or a notes app on your phone is all you need to record your carry distances at each swing length.
Many golfers also give away putts during practice rounds. They hit a chip to six feet, pick up the ball, and call it a “gimme.” If you never putt the 6-footers when it does not matter, you will never make them when it does. Every putt inside ten feet should be holed out during practice rounds, without exception.
Finally, the par-3 strategy mistake is deeply habitual. Golfers see the flag and aim at it instinctively. You must consciously override that instinct every single time until center-green becomes your default. Read How to Read Greens Like a Pro: Complete Guide to sharpen your green-reading skills once you are hitting the center of the green more consistently.
Quick Recap
The next time you have an hour to practice, skip the driver. Spend that valuable time dialing in your partial wedges from 50 to 100 yards and mastering the 6-foot putt. On the course, commit to aiming at the center of the green on every par 3. These three adjustments — the partial wedge, the 6-foot putt, and the par-3 strategy — are the shots that lower your golf score more than any equipment upgrade or swing overhaul ever could.
This is how you make real, measurable scoring progress. The data is clear, the drills are simple, and the results are waiting for you on the practice green. All you have to do is show up and practice the right shots.
For a complete framework on building purposeful practice sessions that actually translate to the course, see How to Build a Practice Routine for Real On-Course Scoring. And if you are working toward a specific scoring milestone, How to Break 90 in Golf: The Complete Scoring Breakdown is the perfect companion to this article.
FAQ Section
Why is the 6-foot putt so important for lowering your golf score?
The 6-foot putt is the distance where the make-rate gap between professionals and amateurs is most pronounced. It is the highest-leverage putt for saving par or converting birdie, and it comes up multiple times in every round. Mastering it consistently has a direct and measurable impact on your scorecard.
How do I practice partial wedge shots without a launch monitor?
You do not need a launch monitor to practice partial wedges. Use the yardage markers on your local driving range, or pace out targets at 50, 75, and 100 yards. Focus on the feeling of the swing length required to hit each target, and note your carry distances in a simple notebook. The goal is consistency, not perfection.
Why do amateurs lose so many strokes on par 3s?
Amateurs lose strokes on par 3s primarily due to poor course management. They aim at tucked pins, miss the green on the short side, and leave themselves impossible recovery shots — turning potential pars into double bogeys. The fix is simple: aim for the center of the green on every par 3, regardless of pin position.
How does strokes gained for amateurs apply to weekend golfers?
Strokes-gained analysis highlights exactly where a golfer is losing shots relative to a target handicap. For weekend golfers, it consistently shows that the fastest path to lower scores runs through approach play and short-game efficiency, not raw distance off the tee.
What are the true golf practice priorities for a mid-handicap golfer?
Your practice priorities should align with where you lose the most strokes. For the vast majority of mid-handicap golfers, this means focusing heavily on partial wedge shots from 50 to 100 yards, mid-range putts (specifically the 6-footer), and disciplined course management on par 3s.
Should I ever aim at the pin on a par 3?
Unless you are a scratch golfer with elite iron control, or the pin is located in the absolute center of the green, you should almost always aim for the fat part of the green. The risk-reward of chasing a tucked pin almost never favors the amateur golfer.
Internal Links
Related reading:
•Urgent: Want To Save 3 Strokes a Round?
•How to Stop Three-Putting: 7 Drills That Actually Work
•How to Read Greens Like a Pro: Complete Guide
•How to Break 90 in Golf: The Complete Scoring Breakdown